How to setup CoreIDE for development?
Before starting make sure that following settings data are properly set:
Learn on YouTube- https://www.youtube.com/watch?v=maWo73QV23o&t=0s
- Open CoreIDE
-
A window will open, click on "Open existing project" button.
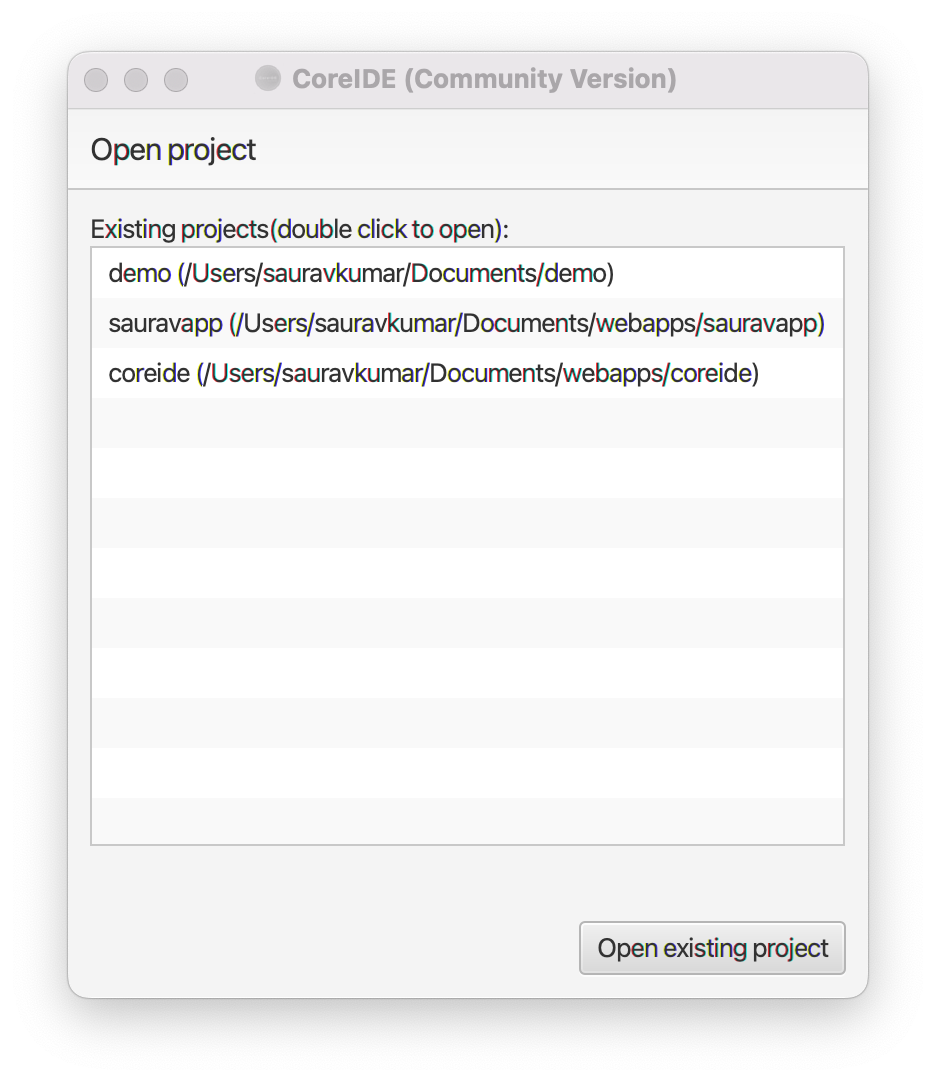
- Browse and select your project folder.
- Go to the Settings menu and then click on "All settings".
- The settings editor window will open.
-
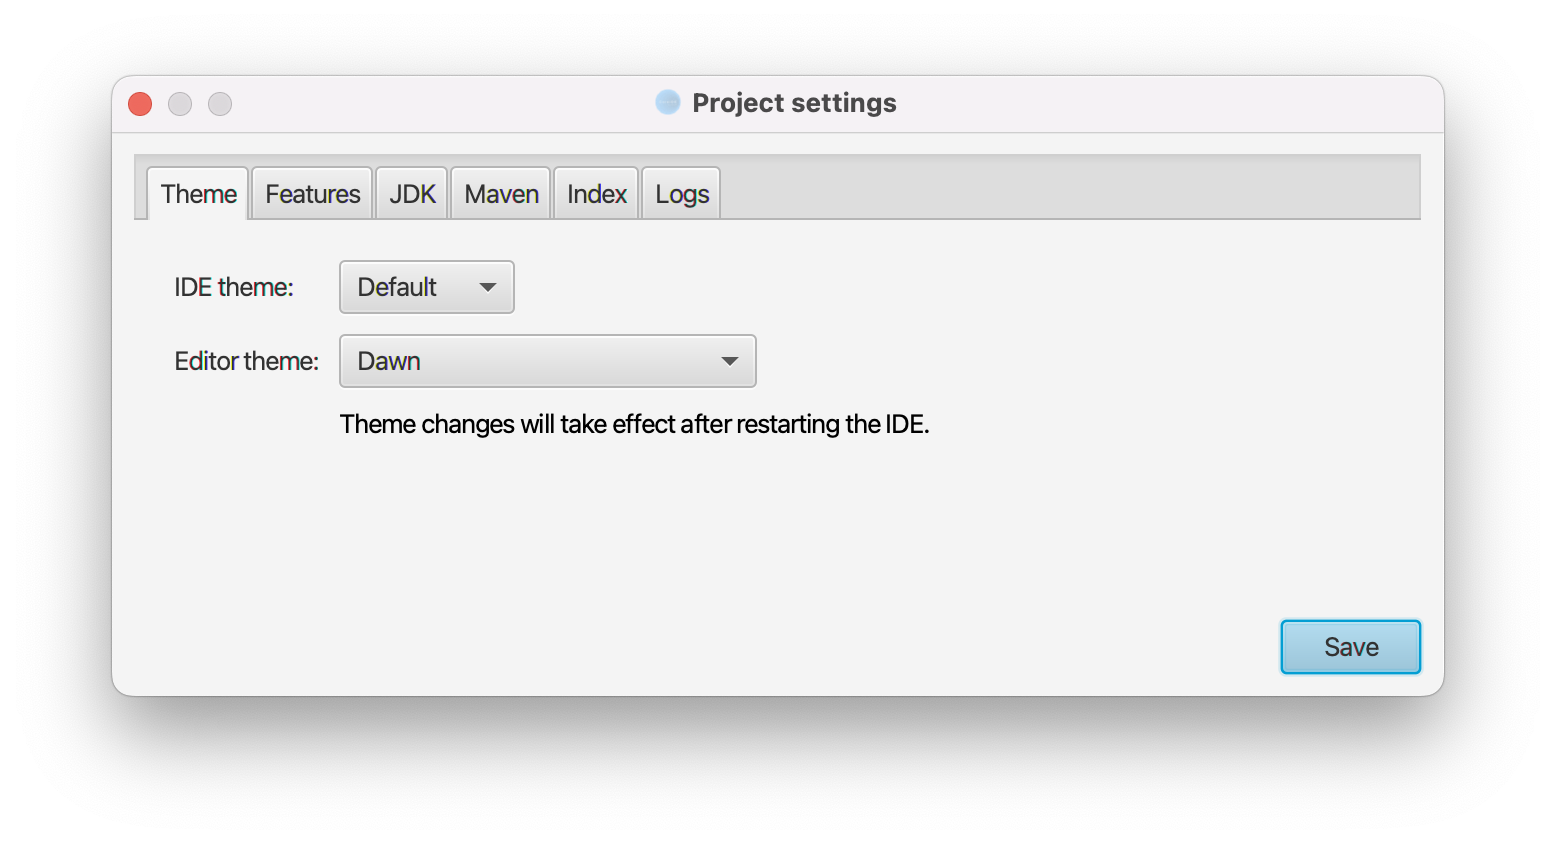
In the Themes tab you can choose the IDE and editor themes.
-
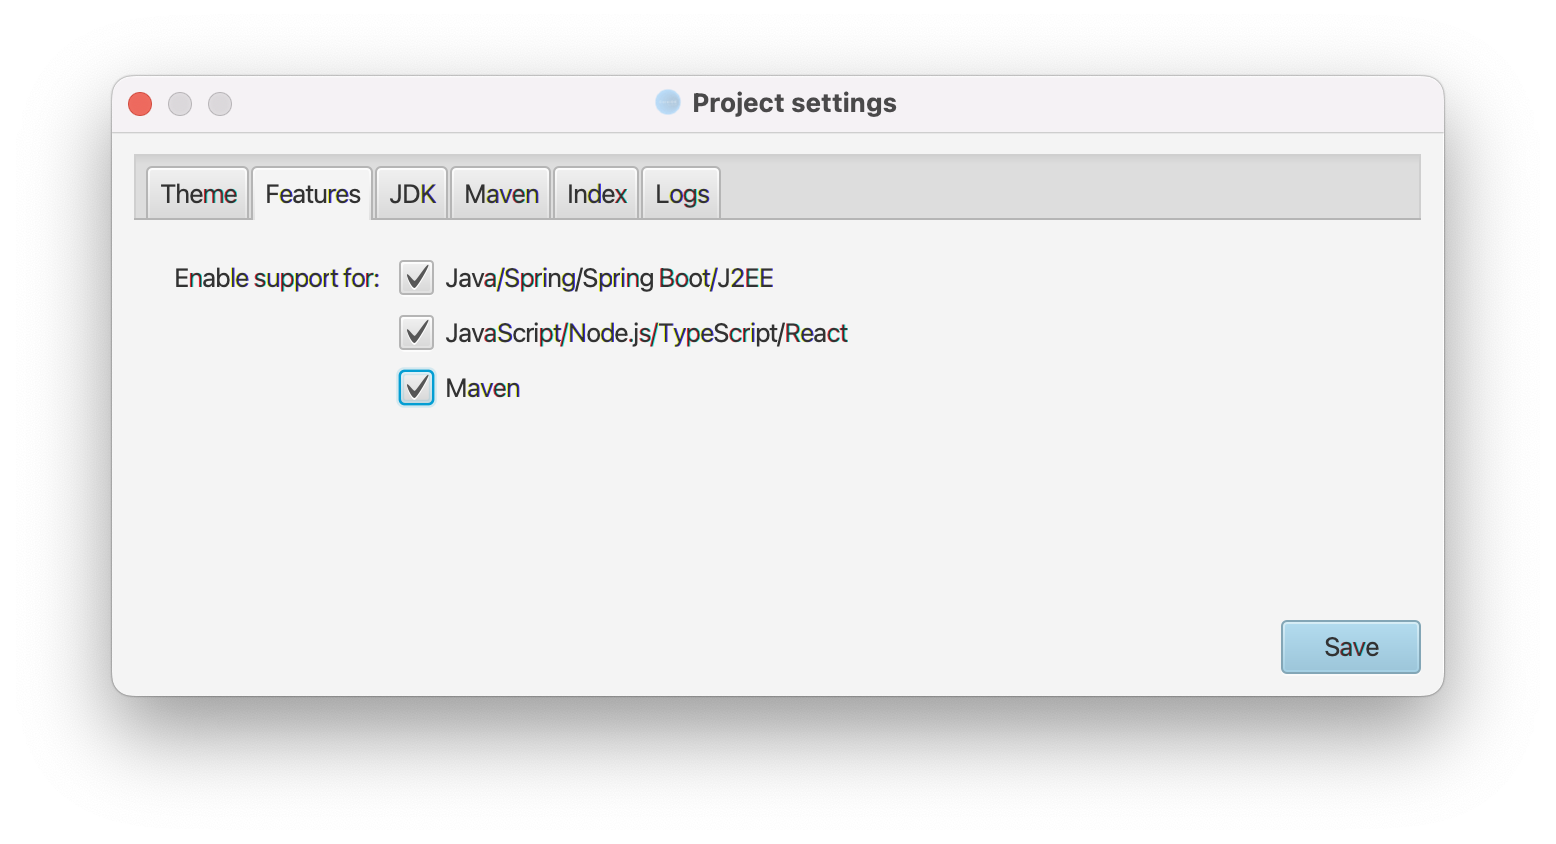
In the features tab you can enable support for Java, Spring, Spring Boot, JavaScript, TypeScript, Node.js, Maven, Express.js etc.
-
In the JDK tab you can configure your development JDK. Set proper paths for JDK home, Java source and Java binary output locations. JDK home should contain path till the parent folder of the bin directory of your JDK installation. If you don't have Java source and/or Java binary folders in your project then you can create folders like src for source and bin for binary and then set the location in the IDE settings.

-
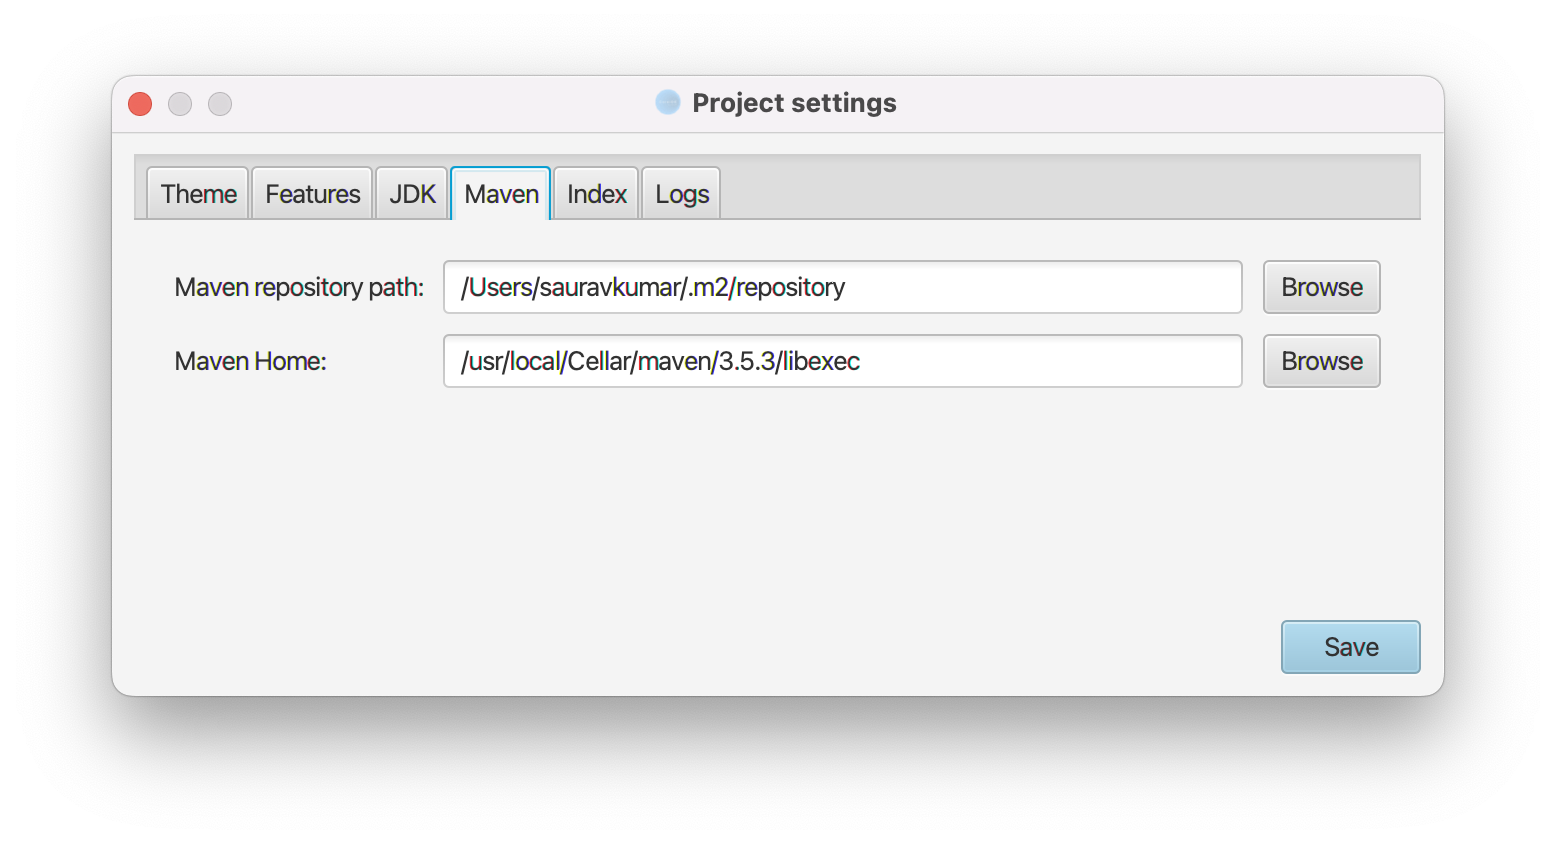
In the Maven tab you configure maven home and repository folder paths. Here you need to set the Maven home path i.e. the parent folder of the bin folder of your Maven installation. Set the Maven repository location of .m2 folder.
-
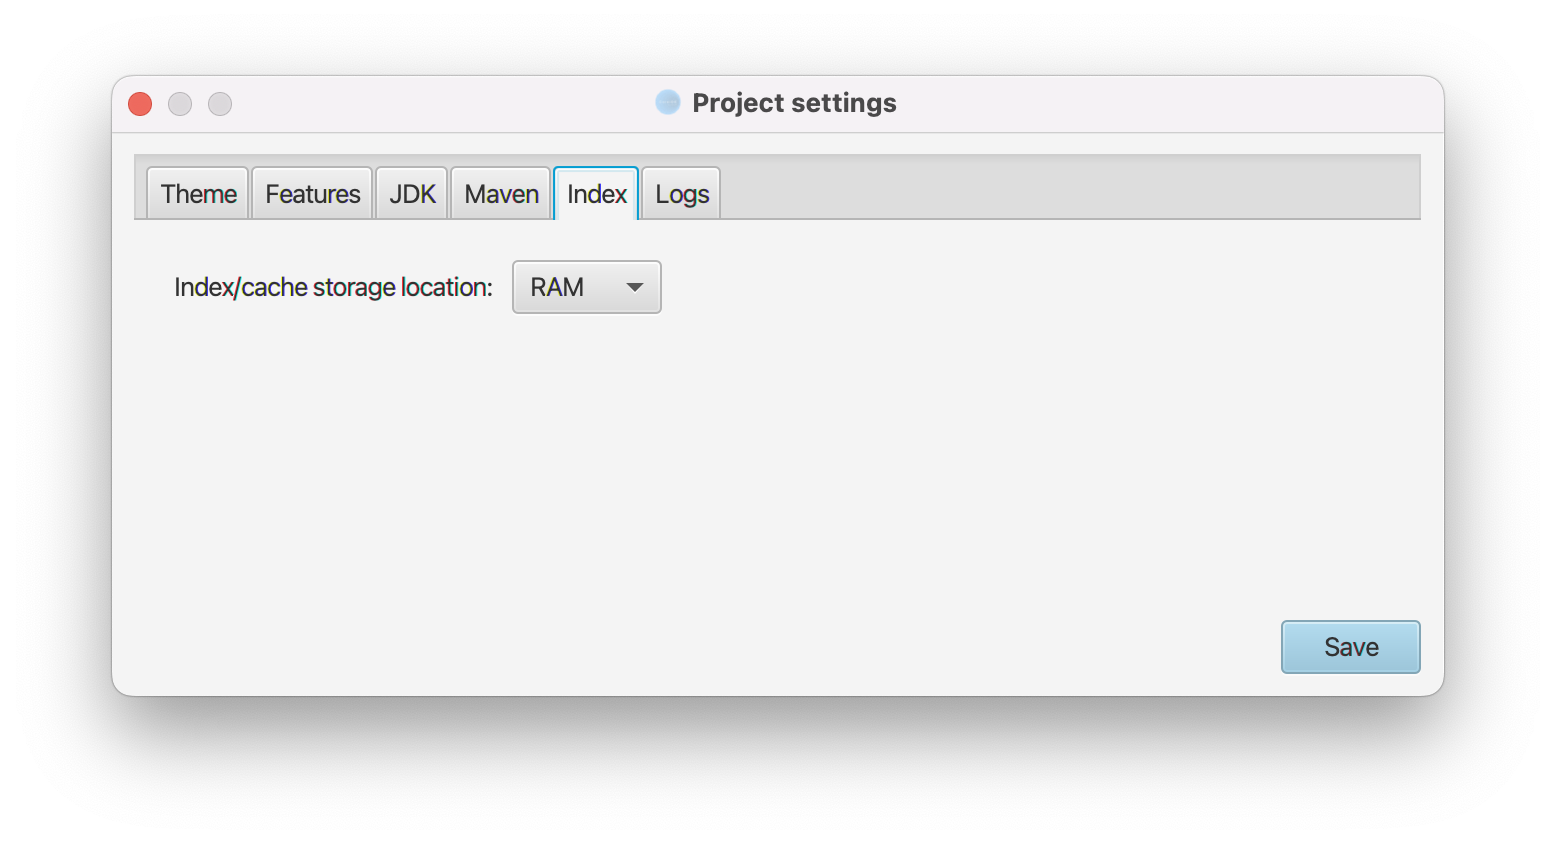
In the Index tab you can choose if the IDE will use RAM or Disk for caching and indexing purposes.
-
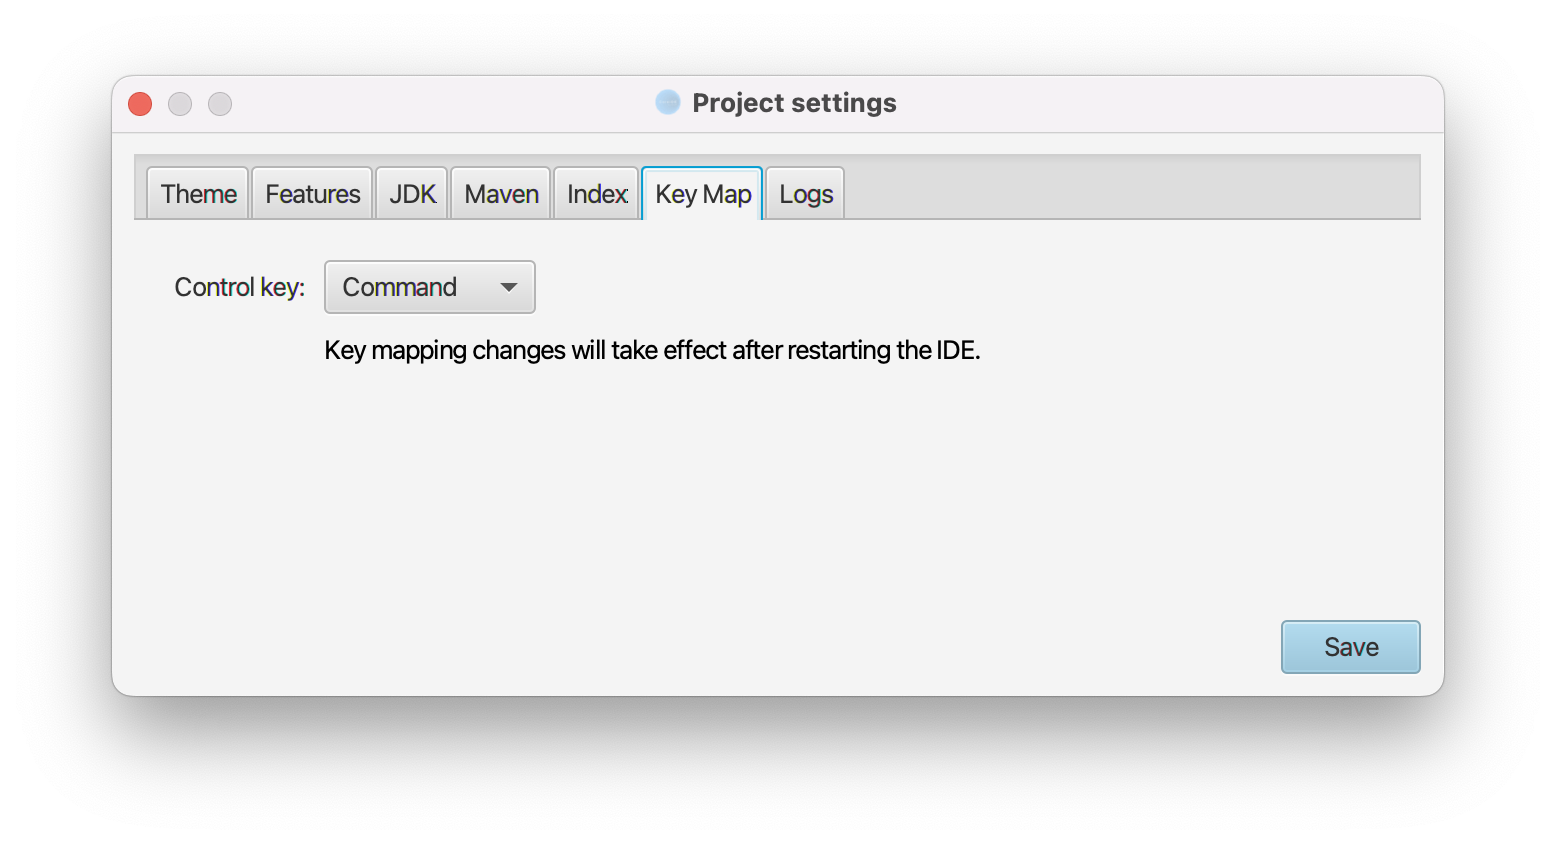
In the Key Map tab you can choose Command or Control key as your keyboard shortcut.
-
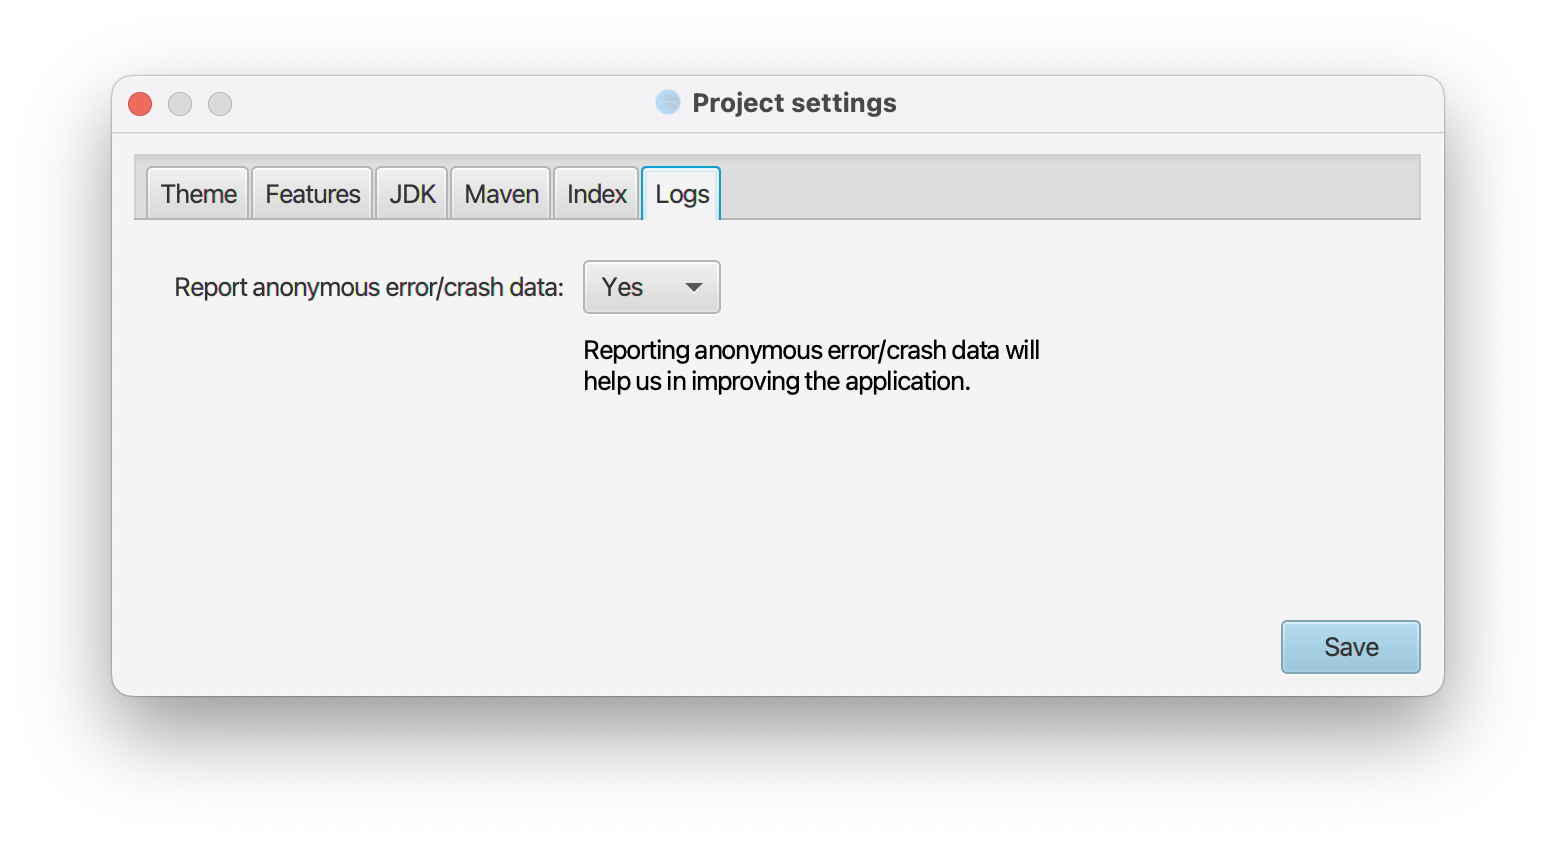
In the Logs tab you can opt-out from sending anonymous logs to us.
- Now click on Save button.
Need more help? Please visit the CoreIDE Wiki for more articles. You can also report an issue or request a new feature.